

Picture Frame Border
How to install a picture frame border for your Hyperion® composite decking
Overview
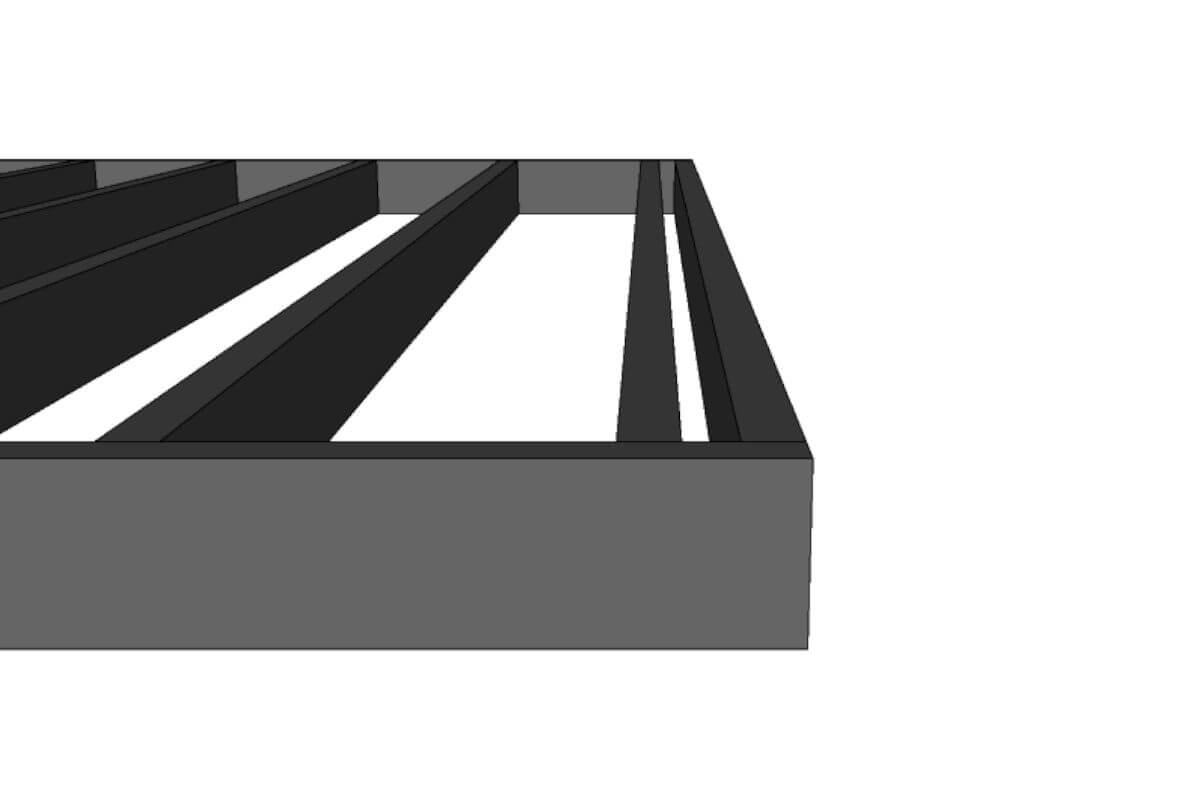
If you are planning a picture frame border design for your deck you need to ensure you install the correct substructure layout.
There are two methods for installing a picture frame border:
- Bullnose Edging Method (for use with Hyperion® Frontier decking)
- Decking Board Method (for use with Hyperion® Explorer decking)
Deck Board Picture Frame Installation
For use with Hyperion® Explorer composite decking.
Step 1
Ensure double joists for end boards
Step 2
Install the parallel board

Where the picture frame runs parallel to the main deck install the board with a 45° mitred end.
Step 3
Install starter clips for the perpendicular board

For the boards that run perpendicular to the main deck, place starter clips on the inner joist to hold the inner board edge in place.
- A clip should be installed every 300mm along the length of the joist.
Step 4
Slide the perpendicular board into place

Slide the picture frame board into the starter clips.
- You must leave the standard expansion gap between the mitred ends of the picture frame border.
Step 5
Secure the board

- Pre-drill pilot holes in the deck boards 2mm wider than the screw shank.
- Do not over drive screws into the deck boards to avoid the material splitting. Finish tightening by hand.


